
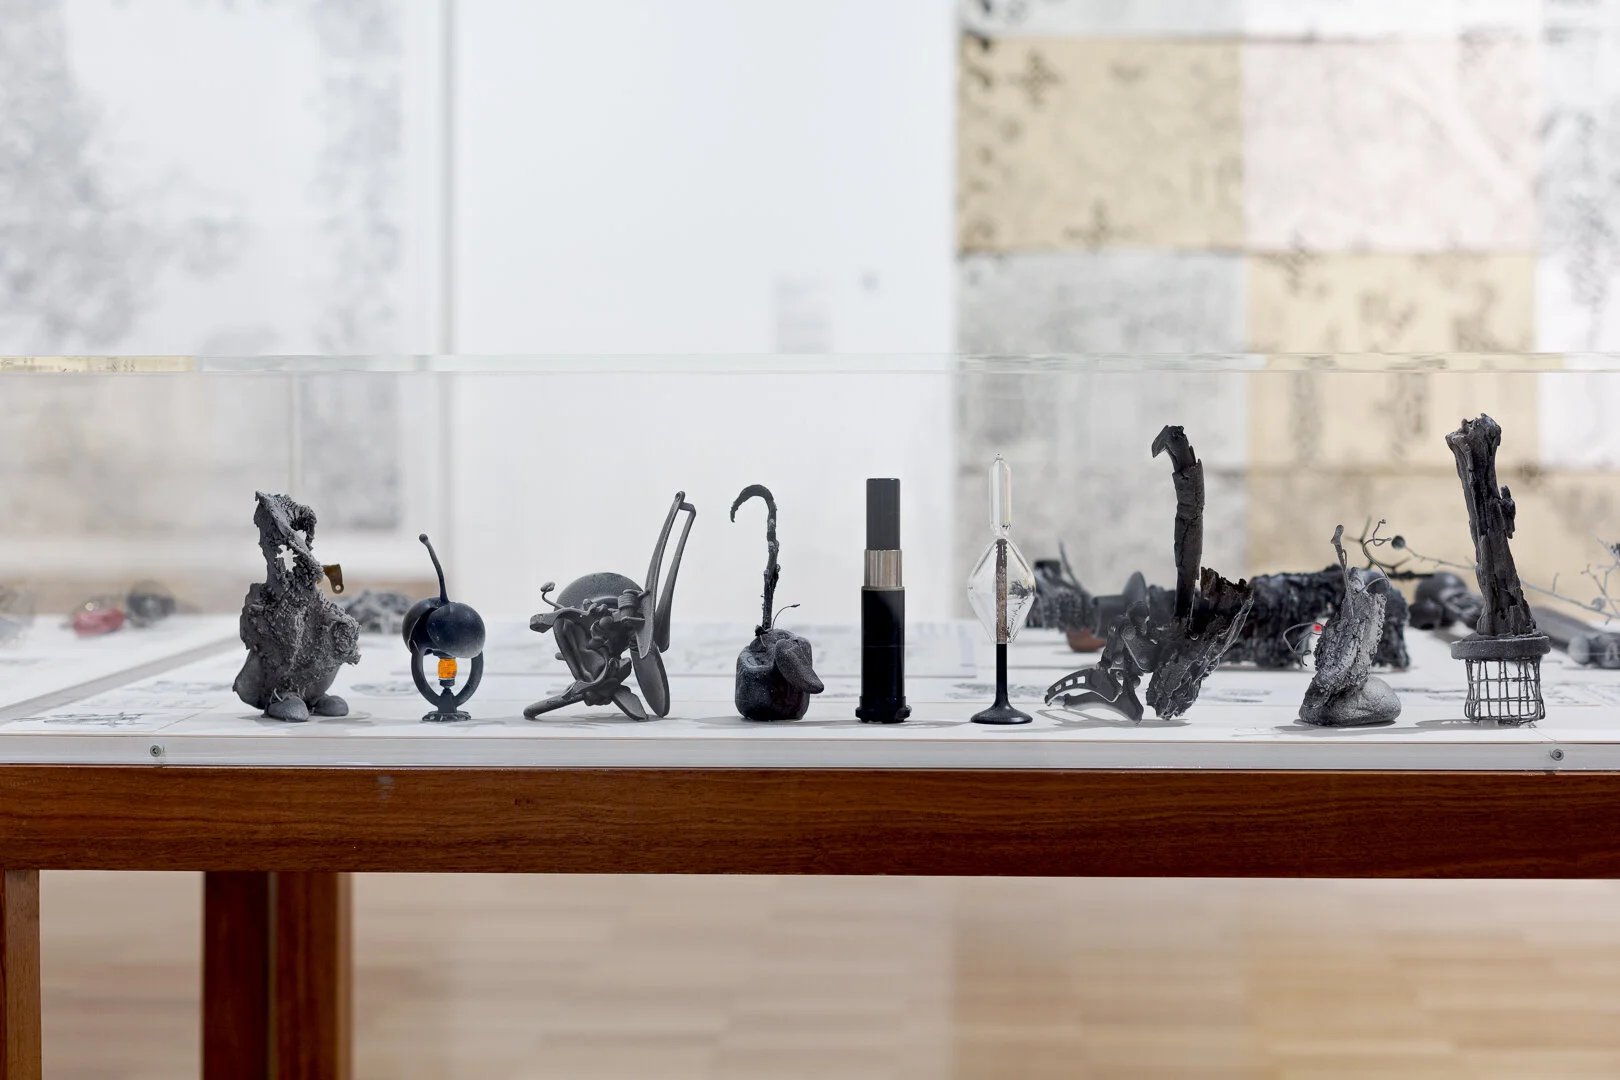
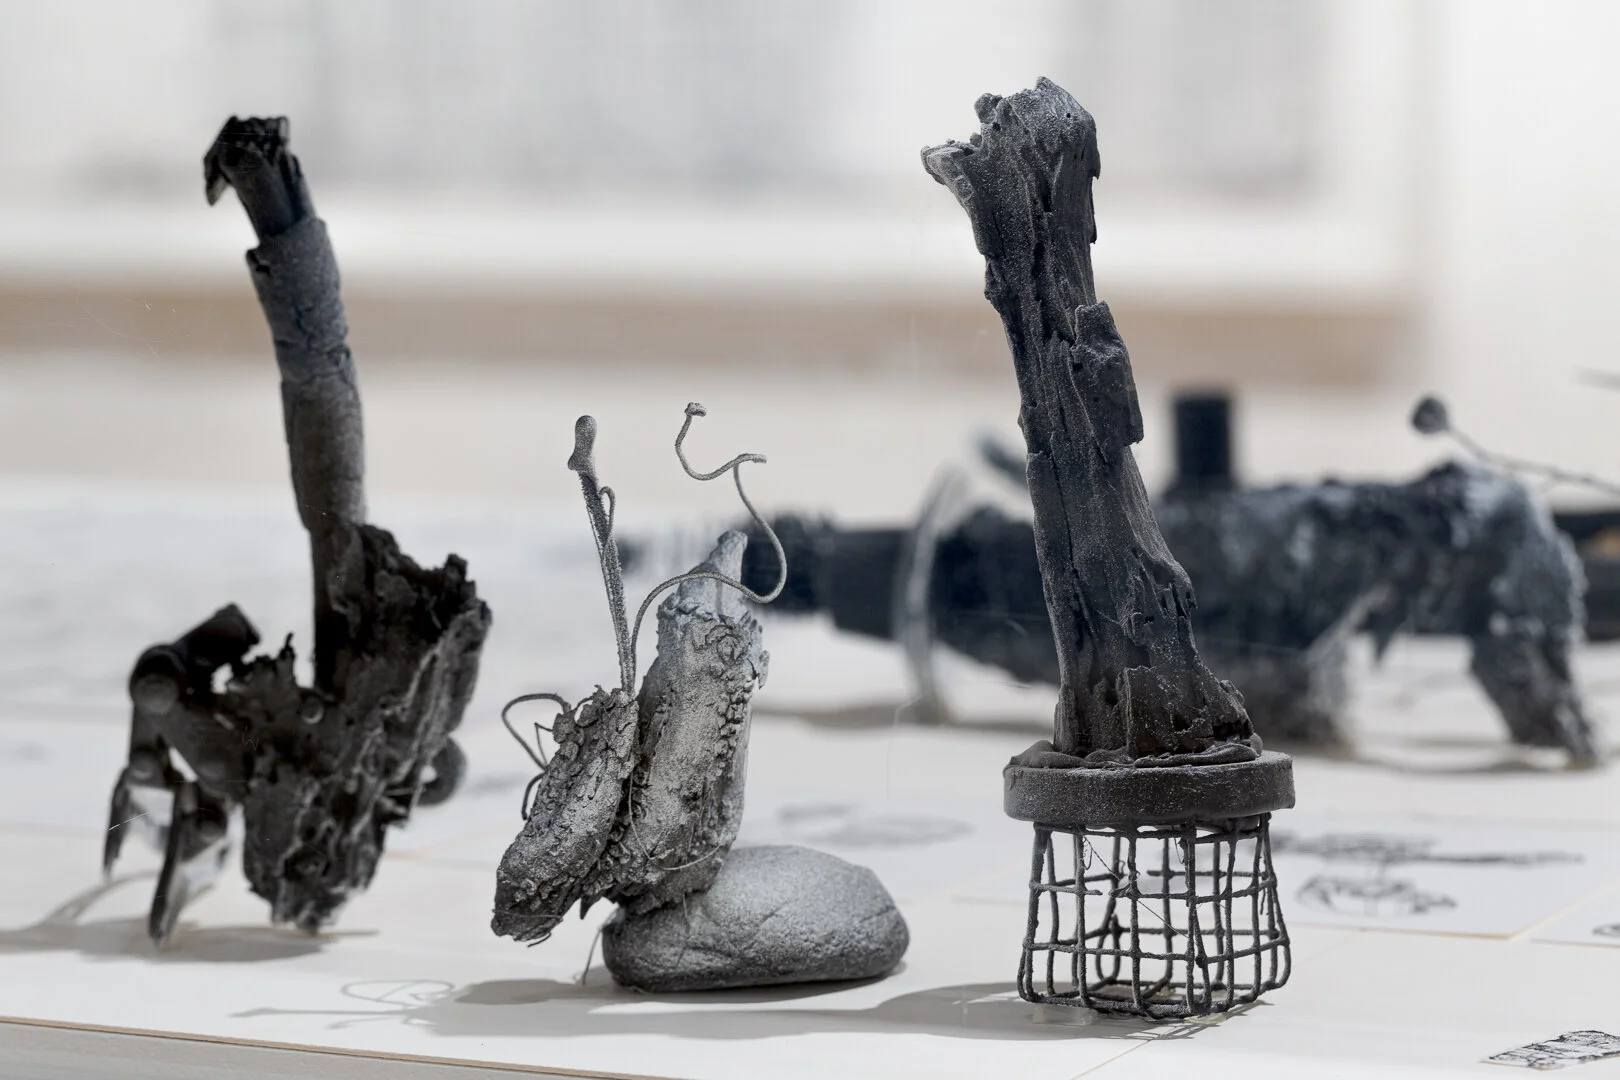
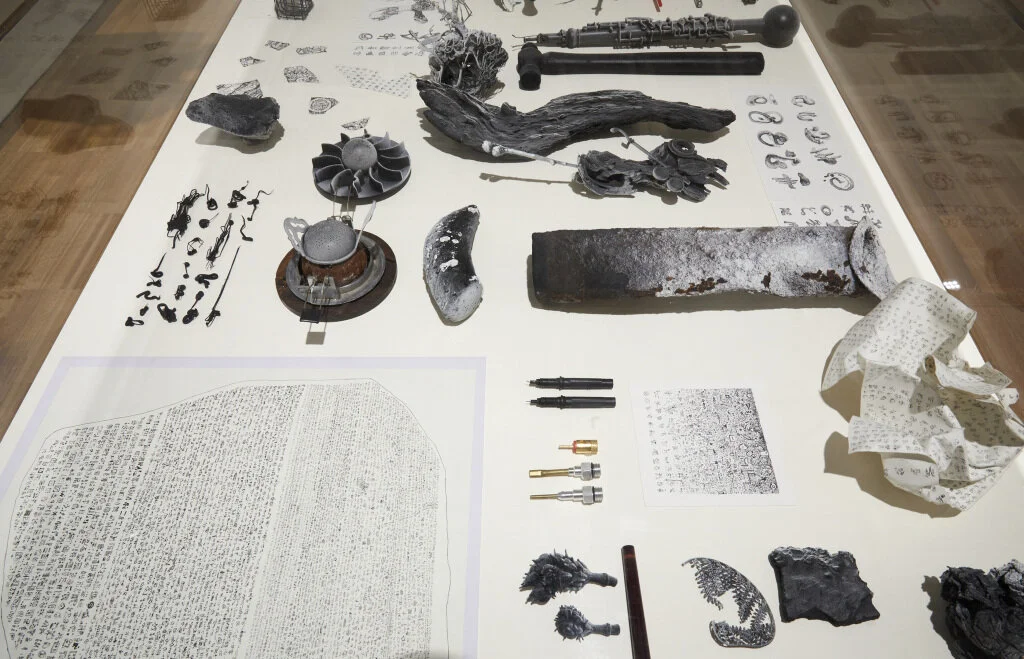
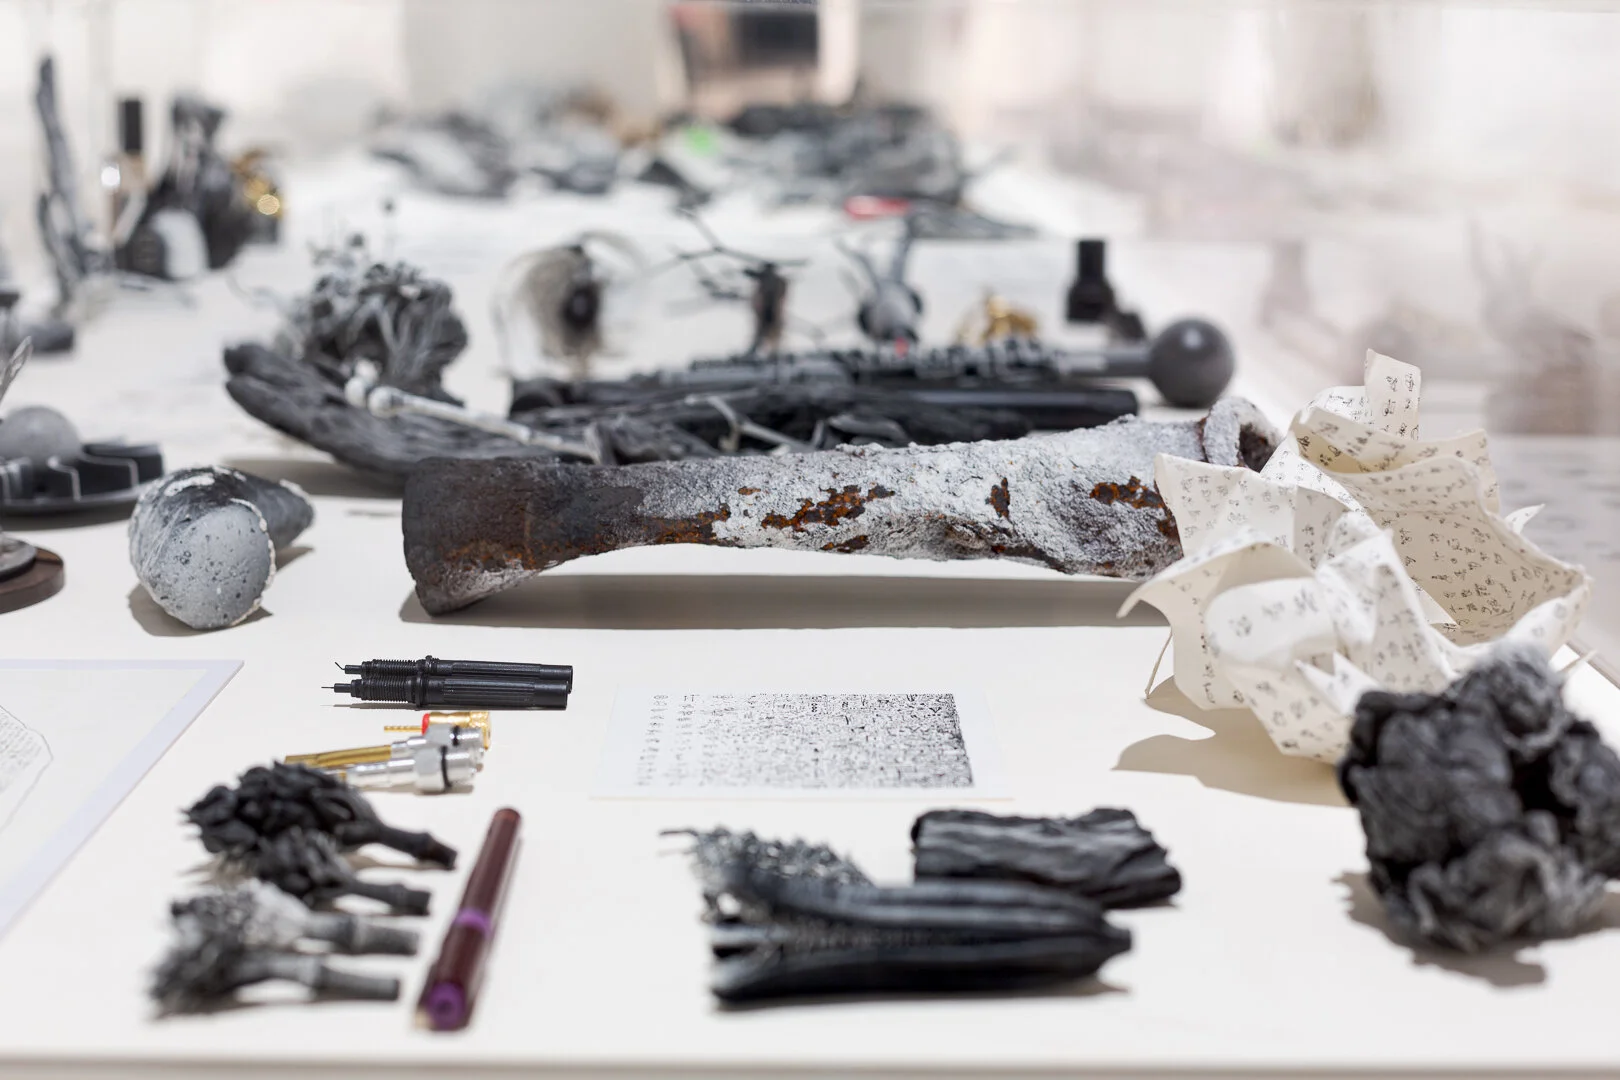


Photo Credit: Sarah Kukathas, Document Photography
Photo Credit: Sarah Kukathas, Document Photography
Photo Credit: Sarah Kukathas, Document Photography
Photo Credit: © AGNSW, Christopher Snee
Photo Credit: Sarah Kukathas, Document Photography
Photo Credit: Sarah Kukathas, Document Photography
Photo Credit: Sarah Kukathas, Document Photography
Photo Credit: Sarah Kukathas, Document Photography
Photo Credit: © AGNSW, Christopher Snee
Photo Credit: Sarah Kukathas, Document Photography
Photo Credit: Sarah Kukathas, Document Photography
Photo Credit: Sarah Kukathas, Document Photography
Photo Credit: Sarah Kukathas, Document Photography
Photo Credit: Sarah Kukathas, Document Photography
Photo Credit: Sarah Kukathas, Document Photography
Photo Credit: Sarah Kukathas, Document Photography
Photo Credit: Sarah Kukathas, Document Photography
Photo Credit: Sarah Kukathas, Document Photography
Photo Credit: Sarah Kukathas, Document Photography
Photo Credit: Sarah Kukathas, Document Photography
Photo Credit: © AGNSW, Christopher Snee
Photo Credit: Sarah Kukathas, Document Photography
Photo Credit: Sarah Kukathas, Document Photography
Photo Credit: © AGNSW, Christopher Snee
Photo Credit: © AGNSW, Christopher Snee
Photo Credit: © AGNSW, Christopher Snee
Photo Credit: © AGNSW, Christopher Snee
Photo Credit: © AGNSW, Christopher Snee
Photo Credit: © AGNSW, Christopher Snee
Photo Credit: Sarah Kukathas, Document Photography
Photo Credit: Sarah Kukathas, Document Photography
Photo Credit: © AGNSW, Christopher Snee
Photo Credit: © AGNSW, Christopher Snee
Photo Credit: Sarah Kukathas, Document Photography
Photo Credit: Sarah Kukathas, Document Photography
Photo Credit: Sarah Kukathas, Document Photography
Photo Credit: Sarah Kukathas, Document Photography
Photo Credit: Sarah Kukathas, Document Photography
Photo Credit: Sarah Kukathas, Document Photography
Photo Credit: Sarah Kukathas, Document Photography
Photo Credit: Sarah Kukathas, Document Photography
Photo Credit: Sarah Kukathas, Document Photography
Photo Credit: Sarah Kukathas, Document Photography
Photo Credit: Sarah Kukathas, Document Photography
Photo Credit: © AGNSW, Christopher Snee
Photo Credit: Sarah Kukathas, Document Photography
Photo Credit: Sarah Kukathas, Document Photography
Photo Credit: Sarah Kukathas, Document Photography
Photo Credit: Sarah Kukathas, Document Photography
Photo Credit: © AGNSW, Christopher Snee
Photo Credit: © AGNSW, Christopher Snee
Photo Credit: Sarah Kukathas, Document Photography
Photo Credit: Sarah Kukathas, Document Photography
Photo Credit: Sarah Kukathas, Document Photography
Photo Credit: © AGNSW, Christopher Snee